
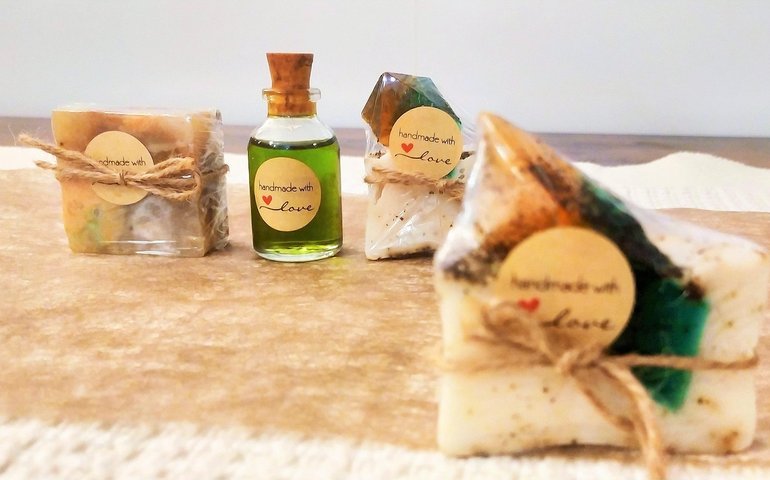
How to Make Goat Milk Soap at Home Safely
Why Goat Milk Suits Sensitive Skin
Goat milk has earned its reputation among people with delicate, reactive or eczema-prone skin, and the reasons are more practical than romantic. It contains lactic acid, a gentle alpha-hydroxy acid that helps loosen dead surface cells without the sting of stronger exfoliants. Its fat globules are naturally smaller than those in cow's milk, which makes the cream easier for thirsty skin to absorb, and it brings a mix of capric and caprylic acids that support the skin's own barrier.
When you make soap from it rather than buying a bar with a token splash of powder, you keep those qualities intact. The result is a creamy, low-lather bar with a pH that settles around 9 to 10 after curing — still soap, but noticeably kinder than a stripped-down commercial bar. If you have ever found mass-market soap leaves your hands tight and itchy, a well-made goat milk bar is often the turning point.
Getting to Grips with Lye Before You Begin
Every bar of real soap is made with sodium hydroxide, and there is no way around it. Handled properly, lye is a routine kitchen-chemical hazard rather than something to fear: it burns on contact, so respect it and it will behave. Work in a well-ventilated room, never near children or pets, and never lean over the jug while stirring.
- Protective kit: chemical splash goggles, not sunglasses or reading glasses; rubber or nitrile gloves; long sleeves; closed shoes.
- Ventilation: an extractor fan or an open window, with the lye jug positioned so fumes drift away from your face.
- A spill plan: keep white vinegar and plenty of cold water within reach. Vinegar neutralises lye on surfaces; cold water rinses skin immediately and thoroughly.
- The golden rule: always add lye to liquid, never liquid to lye. Adding water to a mound of lye can cause a violent, spitting reaction.
Weigh everything to the gram. Lye is not a ingredient you can judge by eye, and a few grams either way changes whether your bar is safe or harsh.
What You Will Need
Before you melt a single fat, gather everything so nothing is hunted for mid-process. For a basic 1 kilogram batch of goat milk soap you will need:
- Oils and butters: olive oil, coconut oil, sustainable palm or shea butter, and a little castor oil for lather.
- Goat milk: full-fat, ideally raw or gently pasteurised, frozen into cubes. Use it as a full water replacement.
- Sodium hydroxide: calculated precisely with a soap calculator, with a superfat of 5 to 8 per cent for sensitive skin.
- Equipment: a digital scale accurate to 1 gram, two heatproof jugs, a stick blender reserved for soapmaking, a thermometer, silicone moulds, and a wooden or cardboard box lined with a towel for insulation.
Dedicate your jugs, spoons and blender to soap only. Once lye has touched them, they should never return to food use.
The Frozen Milk Method for Temperature Control
Goat milk scorches. If you pour lye straight into liquid milk, the sudden heat turns it orange, then brown, and you lose much of the goodness you were trying to preserve. Freezing the milk first is the simplest fix and the method most home soapmakers settle on.
Weigh your milk as you would water, pour it into ice-cube trays, and freeze solid. When you are ready, add the lye a spoonful at a time, stirring gently between additions, keeping the jug in a sink of cold water if the room is warm. The cubes melt gradually and the mixture stays pale and creamy rather than curdling.
Aim to bring your melted oils and your milk-and-lye solution to roughly the same temperature before combining — around 35°C to 38°C is comfortable. Let the oils cool and the lye solution warm naturally rather than forcing either with a hob or a fridge. If the milk mixture climbs above 43°C, pause and let it drop.
Preparing Your Moulds
Soap batter waits for no one, so have your moulds ready before you blend. Silicone loaf or cavity moulds need no lining and release cleanly, which suits beginners well. If you are using a wooden loaf mould, line it with baking parchment, pressing the paper into the corners so there are no creases where batter can pool.
Sit the mould on a sturdy tray so you can move a full, heavy loaf without flexing it. If you plan to insulate the soap to encourage gel phase, have a towel and a lidded box standing by. A spritz of light oil in the cavities helps with particularly intricate designs, though a good silicone mould rarely needs it.
Bringing It Together, Unmoulding and Curing
Pour the lye solution into the oils in a slow, steady stream, then pulse the stick blender. Stir and pulse in short bursts rather than running it continuously, keeping the blade fully submerged to avoid trapping air. Stop at light trace — when a drizzle from the blender leaves a faint trail on the surface.
Pour the batter into your mould, tap the tray on the worktop a few times to release bubbles, and smooth the top with a spatula. Cover with parchment or cling film, then wrap in a towel and leave somewhere draughty-free for 24 hours. Milk soap can overheat, so if the loaf feels uncomfortably warm or develops a crack, uncover it and let it cool.
Unmould after one to three days, when the bar feels firm and releases cleanly. Cut into bars with a sharp knife or a wire cutter, then stand them on their sides with space between each one. Cure for four to six weeks in a cool, dry, airy spot, turning occasionally. That waiting period is what turns a soft, slightly alkaline bar into a mild, long-lasting one — and it is the step that most rewards your patience.
tag: Soap Making

Harriet Ellison Author
Discover how olive, coconut, and castor oils affect hardness, lather, and conditioning properties in handmade goat milk soap recipes.
YOU MAY ALSO LIKE
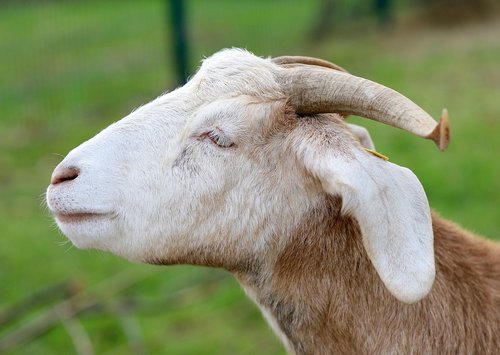
Choosing the Best Oils for Goat Milk Soap
Sep 20
10Blend lavender, chamomile, or tea tree oils into your soap batch while preserving their natural fragrance and skin-friendly benefits.
read more
Adding Essential Oils to Goat Milk Soap
Sep 14
10Fix cracked tops, orange spots, or soft bars with practical advice on temperatures, lye concentration, and curing conditions for goat milk soap.
read moreSoap Making
-

ERRIC CATONA
Build a gentle morning and evening routine using goat milk soap, fragrance-free moisturiser, and mineral sunscreen to calm reactive skin.
May 19, 2016 at 5.12 pm
Reply
ERRIC CATONA
Explore how the natural fats, lactic acid, and vitamins in goat milk soap may support the skin barrier for people with eczema.
May 19, 2016 at 5.12 pm
Reply -
ERRIC CATONA
Learn when and how to apply moisturiser after washing to lock in hydration and prevent tightness, especially in cold weather.
May 19, 2016 at 5.12 pm
Reply
Skincare
Your email address will not be published.